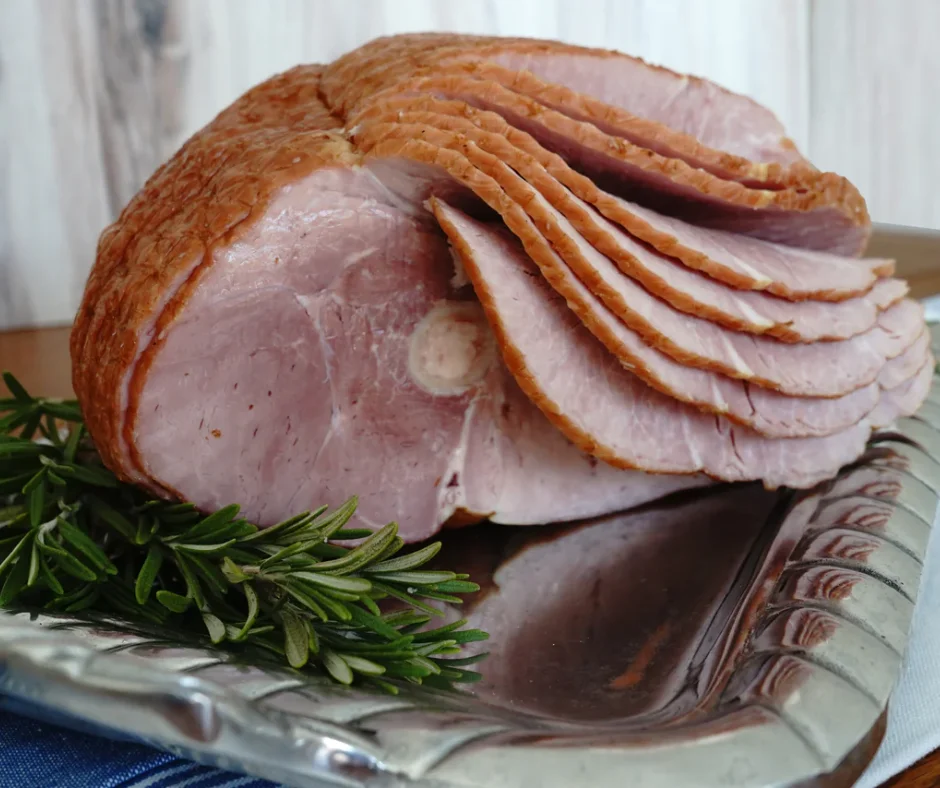
Ham Cooking & Reheating Guide
Our Texas-Smoked, All-Natural, Uncured Spiral-Sliced Hams are a holiday favorite! Proudly sourced from Texas, smoked for rich, savory flavor, and made with no added sugar, these hams are the perfect centerpiece for your Thanksgiving or Christmas table.
Our hams are fully cooked and sold chilled, so there's no need to cook them again. The goal is simply to warm them gently while preserving their natural moisture and delicious smoky flavor.
REHEATING FULLY COOKED HAM
BEFORE YOU BEGIN
Remove your ham from the refrigerator approximately 20–30 minutes before reheating. Do not leave it at room temperature for more than 2 hours.
Keep your ham refrigerated at 40°F or below until ready to prepare.
Recommended Oven Temperature: 275°F
BONE-IN SPIRAL-SLICED HAM
REHEATING INSTRUCTIONS
Recommended Oven Temperature: 275°F
STEP 1: Preheat oven to 275°F.
STEP 2: Remove ham from packaging and place cut-side down in a roasting pan.
STEP 3: Add approximately ½ cup of water, chicken broth, or apple juice to the bottom of the pan.
STEP 4: Cover tightly with aluminum foil to help retain moisture.
STEP 5: Reheat approximately 12–15 minutes per pound, checking the internal temperature with a meat thermometer.
STEP 6: Heat to 140°F for a fully cooked ham packaged in a USDA-inspected facility, unless the label specifies otherwise. For other fully cooked hams, including repackaged hams, reheat to 165°F.
STEP 7: Remove from oven and rest 10–15 minutes before serving.
ESTIMATED REHEATING TIMES
5 lb Ham: Approximately 60–75 minutes
6 lb Ham: Approximately 72–90 minutes
7 lb Ham: Approximately 84–105 minutes
ADDING OUR PINEAPPLE MOSCATO FINISHING GLAZE
For a delicious balance of smoky, savory, and sweet!
STEP 1: Follow the reheating instructions above, keeping the ham covered for most of the cooking time.
STEP 2: When approximately 15–20 minutes of reheating time remain, carefully remove the aluminum foil.
STEP 3: Generously brush our Pineapple Moscato Finishing Glaze over the top and sides of the ham, allowing some glaze to settle between the spiral slices.
STEP 4: Increase oven temperature to 325°F and return the ham to the oven uncovered.
STEP 5: During the final 5 minutes, apply another light layer of glaze for extra flavor.
STEP 6: Remove once the ham reaches the appropriate internal temperature. Rest 10–15 minutes before serving.
BUTCHER'S TIP: Bone-in hams offer incredible flavor and presentation. Keep the ham covered during most of reheating and add your glaze near the end to prevent the sugars from burning.
OUR TOP TIPS FOR THE PERFECT HOLIDAY HAM
• Low and slow is best! Gentle reheating helps preserve moisture and tenderness.
• Keep it covered. Aluminum foil helps prevent spiral-sliced ham from drying out.
• Don't overheat. Your ham is already fully cooked, so you're simply warming it through.
• Use a meat thermometer. Reheating times are estimates and vary by oven and ham size.
• Glaze at the end. Apply our Pineapple Moscato Finishing Glaze during the final 15–20 minutes to prevent burning.
• Store leftovers safely. Refrigerate within 2 hours and enjoy within 3–4 days, or freeze for longer storage.
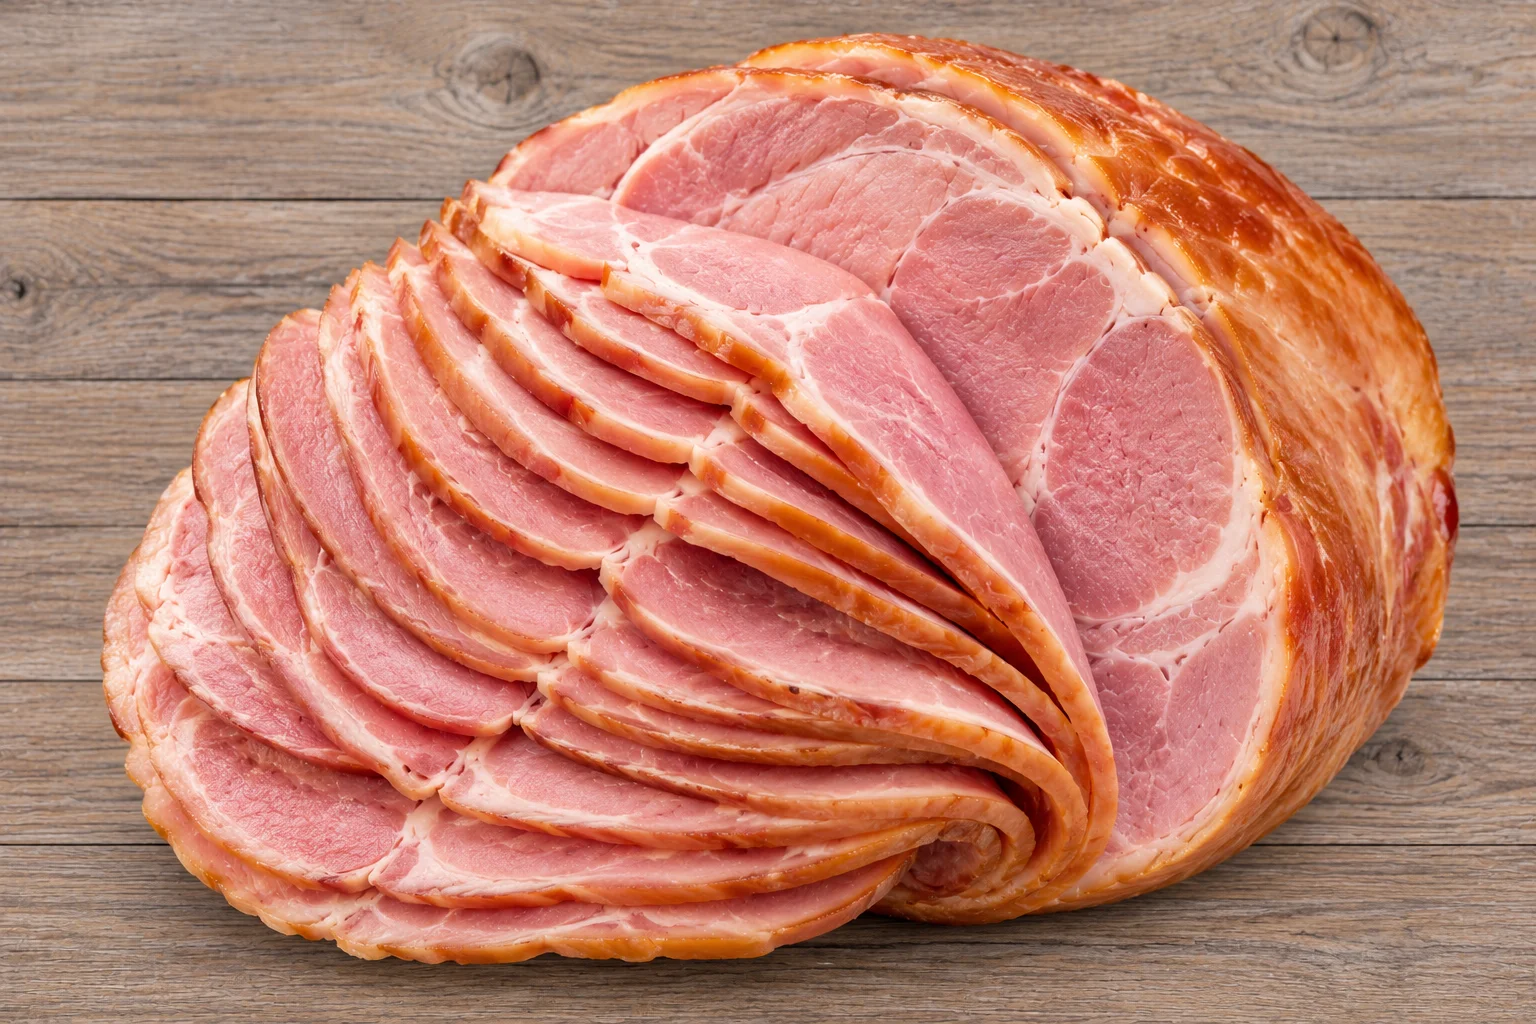
REHEATING FULLY COOKED HAM
BEFORE YOU BEGIN
Remove your ham from the refrigerator approximately 20–30 minutes before reheating. Do not leave it at room temperature for more than 2 hours.
Keep your ham refrigerated at 40°F or below until ready to prepare.
Recommended Oven Temperature: 275°F
BONELESS SPIRAL-SLICED HAM
REHEATING INSTRUCTIONS
STEP 1: Preheat oven to 275°F.
STEP 2: Remove ham from packaging and place cut-side down in a roasting pan or baking dish.
STEP 3: Add approximately ¼–½ cup of water, broth, or apple juice to the bottom of the pan.
STEP 4: Cover tightly with aluminum foil to retain moisture.
STEP 5: Reheat approximately 10–15 minutes per pound, checking the internal temperature with a meat thermometer.
STEP 6: Heat to 140°F for a fully cooked ham packaged in a USDA-inspected facility, unless the label specifies otherwise. For other fully cooked hams, including repackaged hams, reheat to 165°F.
STEP 7: Remove from oven and rest approximately 10 minutes before serving.
ESTIMATED REHEATING TIMES
4 lb Ham: Approximately 40–60 minutes
5 lb Ham: Approximately 50–75 minutes
6 lb Ham: Approximately 60–90 minutes
ADDING OUR PINEAPPLE MOSCATO FINISHING GLAZE
Give your savory Texas ham a delicious sweet finish!
STEP 1: Follow the reheating instructions above, keeping the ham tightly covered for most of the heating process.
STEP 2: During the final 15–20 minutes, carefully remove the foil.
STEP 3: Brush Pineapple Moscato Finishing Glaze generously over the ham, including between the spiral slices where possible.
STEP 4: Increase oven temperature to 325°F and return the ham to the oven uncovered.
STEP 5: Apply a second light coating of glaze during the final 5 minutes for a beautiful finish.
STEP 6: Remove when the ham reaches the appropriate internal temperature and rest approximately 10 minutes before serving.
BUTCHER'S TIP: Boneless spiral-sliced hams are especially convenient for smaller gatherings. Because the slices can dry out quickly, keep your ham covered until it's time to glaze!
OUR TOP TIPS FOR THE PERFECT HOLIDAY HAM
• Low and slow is best! Gentle reheating helps preserve moisture and tenderness.
• Keep it covered. Aluminum foil helps prevent spiral-sliced ham from drying out.
• Don't overheat. Your ham is already fully cooked, so you're simply warming it through.
• Use a meat thermometer. Reheating times are estimates and vary by oven and ham size.
• Glaze at the end. Apply our Pineapple Moscato Finishing Glaze during the final 15–20 minutes to prevent burning.
• Store leftovers safely. Refrigerate within 2 hours and enjoy within 3–4 days, or freeze for longer storage.
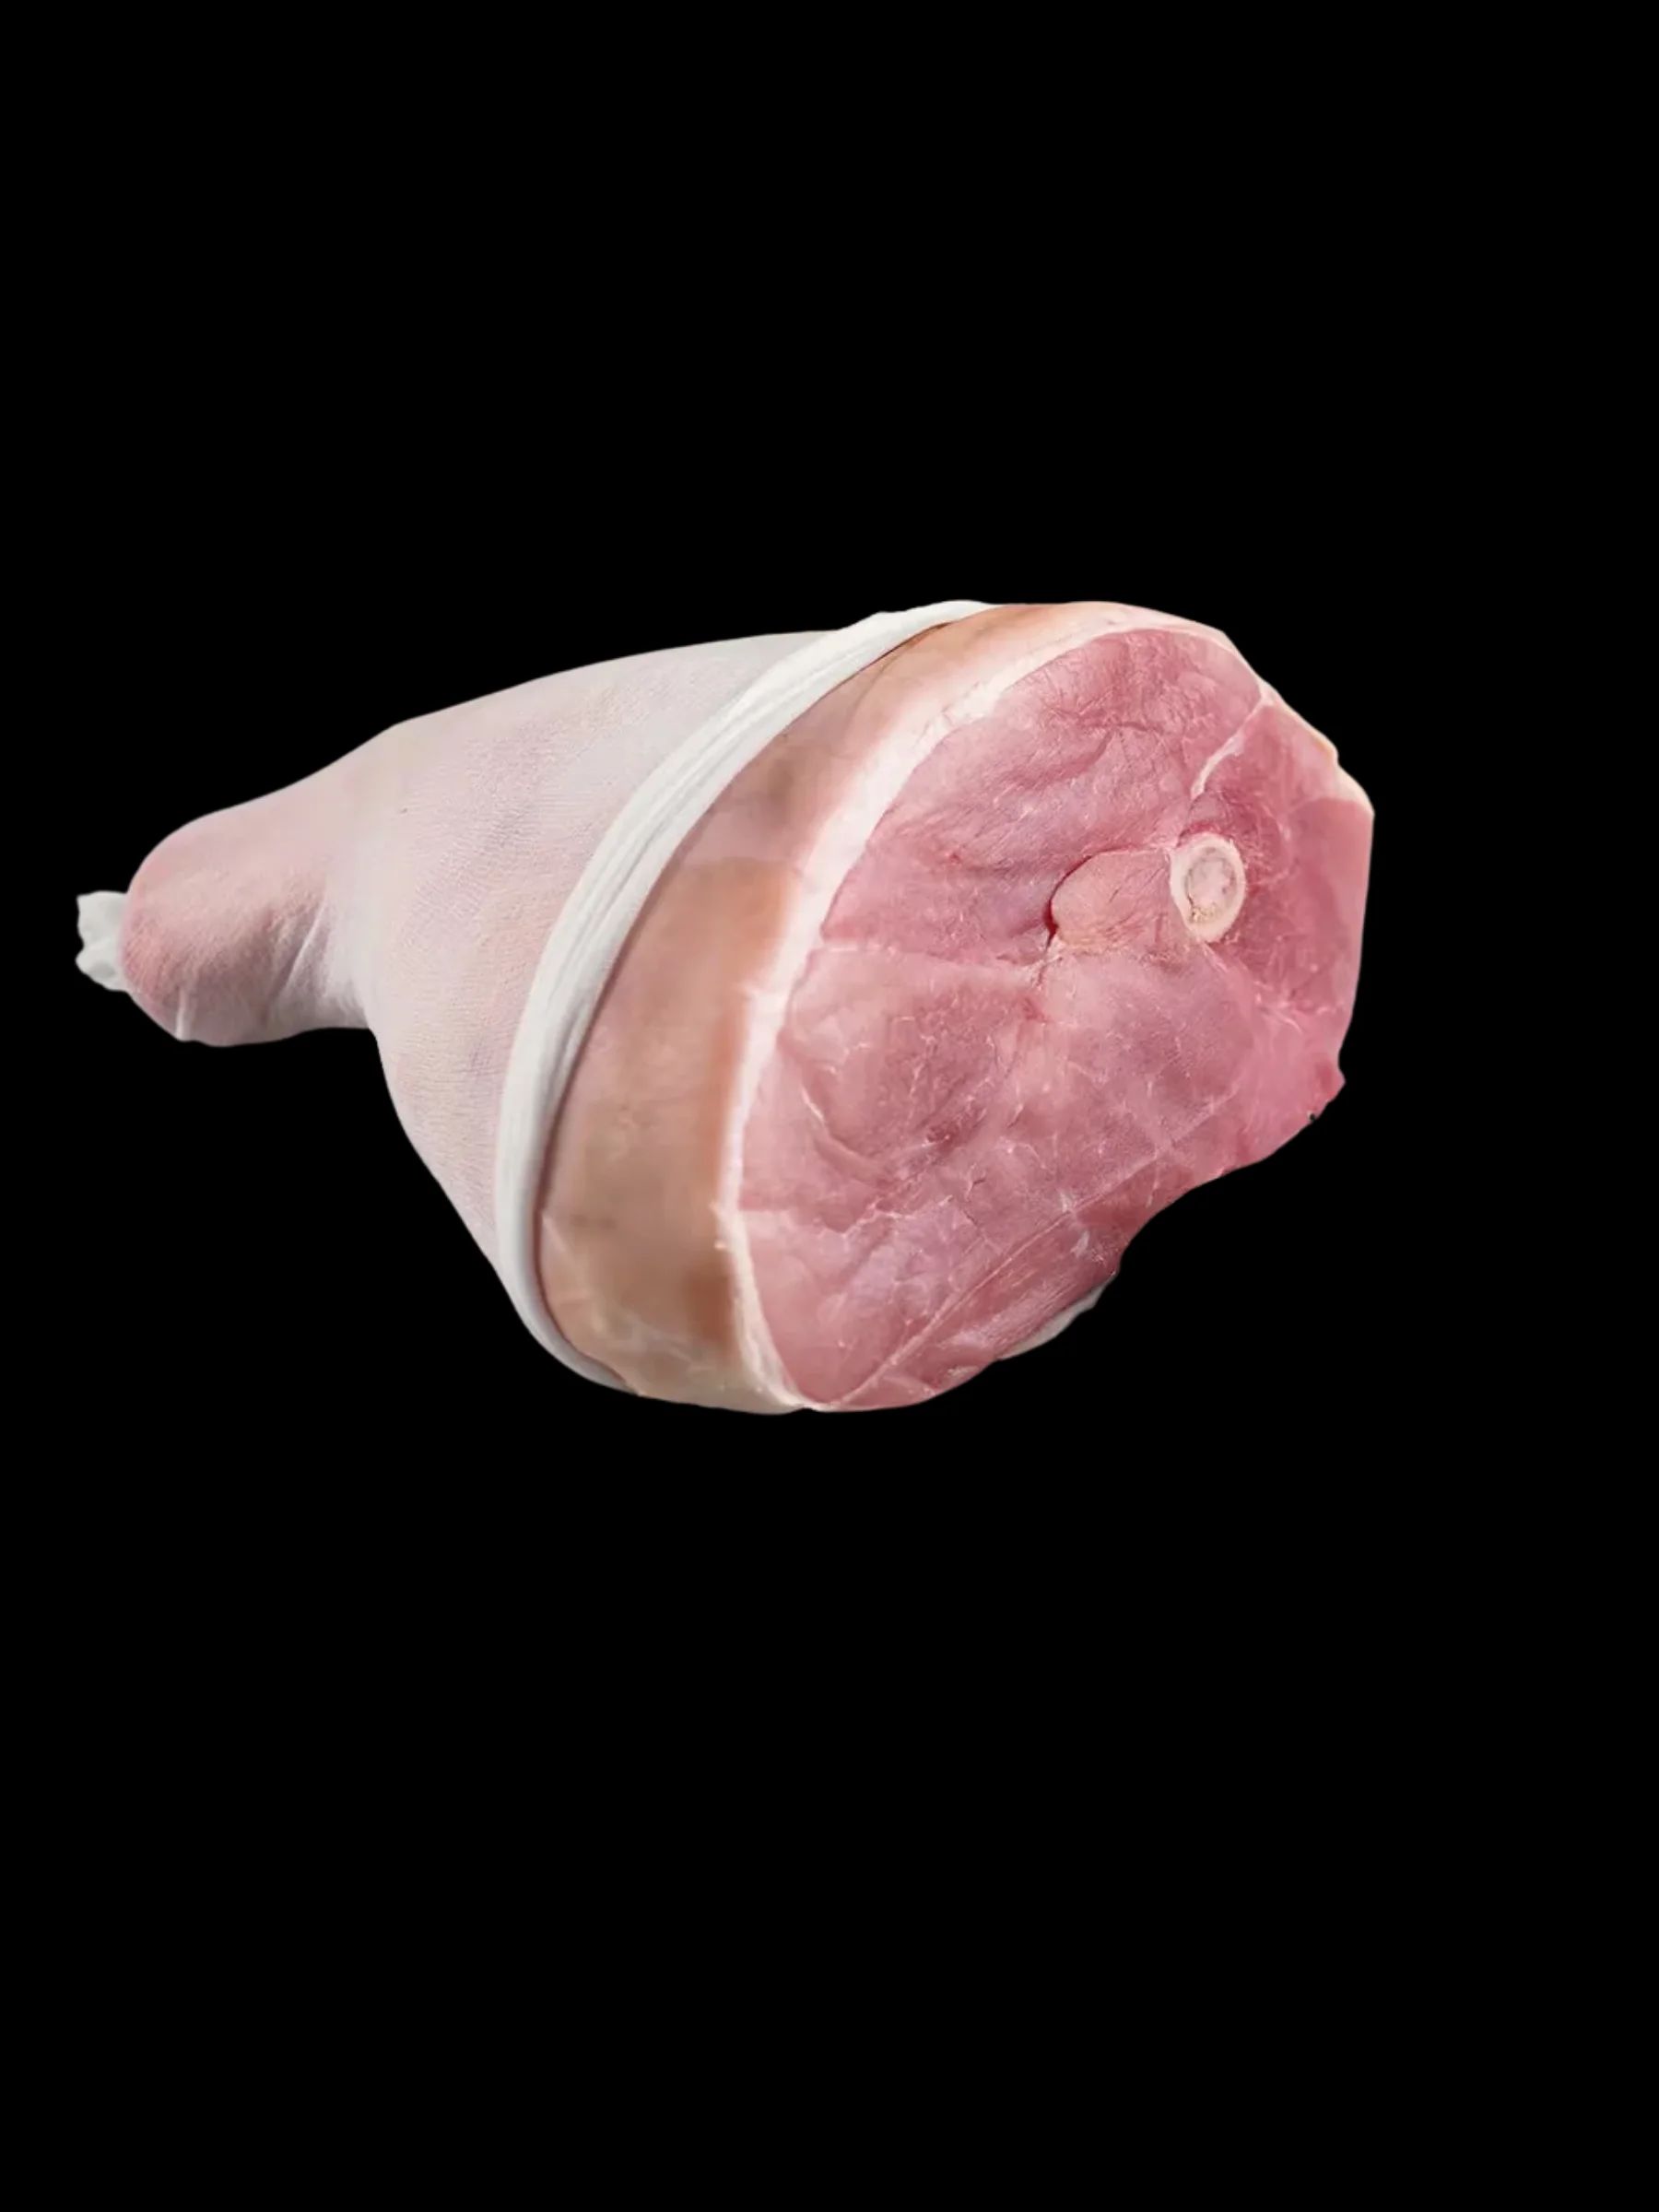
RAW (GREEN) HAM — COOKING TIPS & TRICKS
WHAT IS A RAW OR GREEN HAM?
A raw ham, sometimes called a green ham or fresh ham, is an uncooked cut from the hind leg of a pig that has not been cured or smoked.
Unlike traditional holiday hams, which are typically cured and fully cooked, a green ham is fresh pork that must be thoroughly cooked before serving.
Think of it as a pork roast rather than a traditional smoked ham! It has a mild, savory pork flavor and is perfect for roasting, smoking, or seasoning with your favorite herbs and spices.
TIPS & TRICKS FOR THE PERFECT GREEN HAM
1. SEASON GENEROUSLY!
Because green ham isn't cured or smoked, it doesn't have the salty, smoky flavor of a traditional holiday ham. Don't be afraid to season it!
Try garlic, rosemary, thyme, sage, black pepper, kosher salt, and olive oil for a delicious herb-crusted roast.
2. PREPARE IT THE NIGHT BEFORE.
For even better flavor, season your ham 12–24 hours before cooking and refrigerate it uncovered on a rack.
This allows the seasoning to penetrate the surface and helps create a beautiful crust during roasting.
3. LOW AND SLOW FOR TENDER RESULTS.
Roasting at approximately 325°F provides steady, even cooking.
For a sliceable roast, cook until the thickest part reaches at least 145°F, followed by a minimum 3-minute rest. For a large roast, a longer rest of 20–30 minutes helps retain juices.
For a more fall-apart texture, additional cooking may be necessary, but keep in mind that ham is leaner than pork shoulder and can dry out.
4. KEEP THE FAT CAP!
If your green ham has a layer of fat, leave it on during cooking!
The fat helps protect the meat from drying out and adds flavor. Lightly score the fat in a diamond pattern without cutting deeply into the meat.
5. ADD MOISTURE TO THE PAN.
Add approximately ½–1 cup of broth, apple juice, or water to the bottom of your roasting pan.
This helps keep the drippings from burning and creates a flavorful base for gravy.
6. USE A MEAT THERMOMETER!
Cooking times vary depending on the size of the ham, whether it's bone-in or boneless, and your oven.
Always check the thickest part of the meat, avoiding the bone.
Minimum Safe Internal Temperature: 145°F with a 3-minute rest.
7. LET IT REST BEFORE CARVING.
After roasting, loosely tent your green ham with foil and allow it to rest approximately 20–30 minutes.
This helps retain moisture and makes carving easier.
8. SLICE AGAINST THE GRAIN.
For the most tender slices, carve across the muscle fibers rather than with them.
Because a green ham contains several different muscles, the grain direction may change throughout the roast.
WANT TO ADD A GLAZE?
A raw green ham is naturally savory, making it a great match for a sweet finishing glaze!
Our Pineapple Moscato Finishing Glaze adds a delicious balance of pineapple sweetness and fruity flavor.
WHEN TO GLAZE:
STEP 1: Roast your green ham until it's approaching its target internal temperature.
STEP 2: During the final 20–30 minutes of cooking, brush the glaze generously over the surface.
STEP 3: Return to the oven uncovered to allow the glaze to develop a beautiful finish.
STEP 4: Apply a second light coating during the final 10 minutes if desired.
STEP 5: Remove when the thickest part reaches at least 145°F and allow to rest before carving.
BUTCHER'S TIP: Glazes containing sugar can burn if applied too early. Save the glaze for the final portion of cooking!
COMMON MISTAKES TO AVOID
• Treating a green ham like a fully cooked holiday ham. Raw ham must be cooked before serving.
• Skipping the seasoning. Fresh ham doesn't have the saltiness of cured ham, so seasoning is essential.
• Overcooking. Fresh ham can dry out if cooked too long, especially when aiming for traditional sliced ham.
• Removing all the fat. Leaving some fat helps protect the meat during roasting.
• Carving immediately. Resting helps preserve moisture and tenderness.
• Glazing too early. Sugary glazes can burn during a long roasting process.
STORAGE & LEFTOVERS
• Keep raw green ham refrigerated at 40°F or below.
• Cook or freeze fresh, uncured ham within 3–5 days of purchase, provided it has been continuously refrigerated and the package date does not require earlier use.
• Refrigerate cooked leftovers within 2 hours.
• Enjoy refrigerated leftovers within 3–4 days or freeze for longer storage.
BUTCHER'S FINAL TIP: A green ham is an excellent alternative to a traditional holiday ham for customers who prefer fresh pork without curing or smoking. With the right seasoning, proper cooking temperature, and a little patience, it makes a beautiful holiday centerpiece!


